

Last Updated: 29 October 2026
Quick Summary
A faulty custom wig shows problems in the cap, fit, hair and washing performance, so check each before you wear it. Start by turning the wig inside out to inspect the netting, stitching, knots and clips. Then test the fit, hair quality and a gentle post-wash performance.
- Turn the wig completely inside out and check the net, stitching, knots, clips and nape.
- A strand that slides out of the cap with almost no resistance means the knot is not secure.
- Test the fit by shaking your head, looking down and up, and checking for pins pressing into your scalp.
- Watch for a visible clump of hair in the basin or a sticky, coated feel during a gentle wash.
- Photograph each stage of the inspection so you have dated evidence if you need to raise a fault.
Table of Contents
- Why a Faulty Custom Wig Is Hard to Spot Until You Wear It
- Step 1: Inspect the Cap Construction and Net Quality
- Step 2: Test the Fit on Your Own Head
- Step 3: Check Hair Quality, Shedding and Matting
- Step 4: Run a Post-Wash Performance Test
- Common Mistakes That Hide Faults and Shorten Wig Life
- What to Do If Your Bespoke Wig Is Faulty
- Booking a Consultation or Repair with Wigs Ldn
- Frequently Asked Questions
How to spot a faulty custom wig comes down to knowing what to inspect before you wear it, not after. Every custom piece is made to order in the UK, so a well-made wig should look and feel natural from the moment it arrives.
A custom wig is often hard to judge from photos or a quick glance in the box. Problems like loose knots, a poor fit or early shedding tend to show up only after a few hours of wear.
Why a Faulty Custom Wig Is Hard to Spot Until You Wear It
Most wig faults are small at first. A slightly rough lace edge, a seam that sits a little high or a few strands that come away when you brush them can all look harmless.
Many buyers only notice an issue once the wig is on and moving. Heat, sweat and daily wear all reveal weaknesses in the cap and hair.
Start by checking the wig in good light, away from mirrors that flatter. Then work through the steps below in order.
Step 1: Inspect the Cap Construction and Net Quality
The cap is the base of the wig, and many long-term problems start here.
Hold the cap up to a window or a bright light. Good netting should look even, with no thin patches, holes or frayed edges.
Watch out: if the cap feels stiff, scratchy or uneven, the construction may be poor, and this often causes discomfort once the wig is worn for a while.
The Inside-Out Inspection Checklist
Most guides tell you to check the cap but stop at a glance.
1. Net and lace integrity. Hold the inside of the cap up to daylight.
2. Stitching and seams. Trace every seam with your eye and then with a fingertip.
**3.
**4.
**5.
6. Adjuster straps and nape. Work the adjuster straps through their full range.
Doing this check inside out can reveal problems that the outside of the wig may hide. A cap that passes all six stages is less likely to develop loose knots, early shedding and uneven fit.
The table below sums up the six checks in the inside-out inspection, so you can run through them in order.
| Check | What to look for | Fail sign |
|---|---|---|
| Net and lace integrity | Even mesh, no thin patches, no holes | Stretched mesh, frayed or lifting edges |
| Stitching and seams | Small, tight, evenly spaced stitches | Loose, skipped or proud stitches |
| Knot density and security | Small, firmly seated knots | Strands slide out with little resistance |
| Hair distribution | Even spread across the cap | Bunching at the crown, thin temples |
| Elastic, clips and combs | Firmly anchored to the cap | Clips that rotate or elastic through one layer |
| Adjuster straps and nape | Move smoothly, nape lies flat | Puckering at the nape |
Step 2: Test the Fit on Your Own Head
A wig can look right on a stand and still fit badly on your head. Put the wig on and check the fit before you style it.
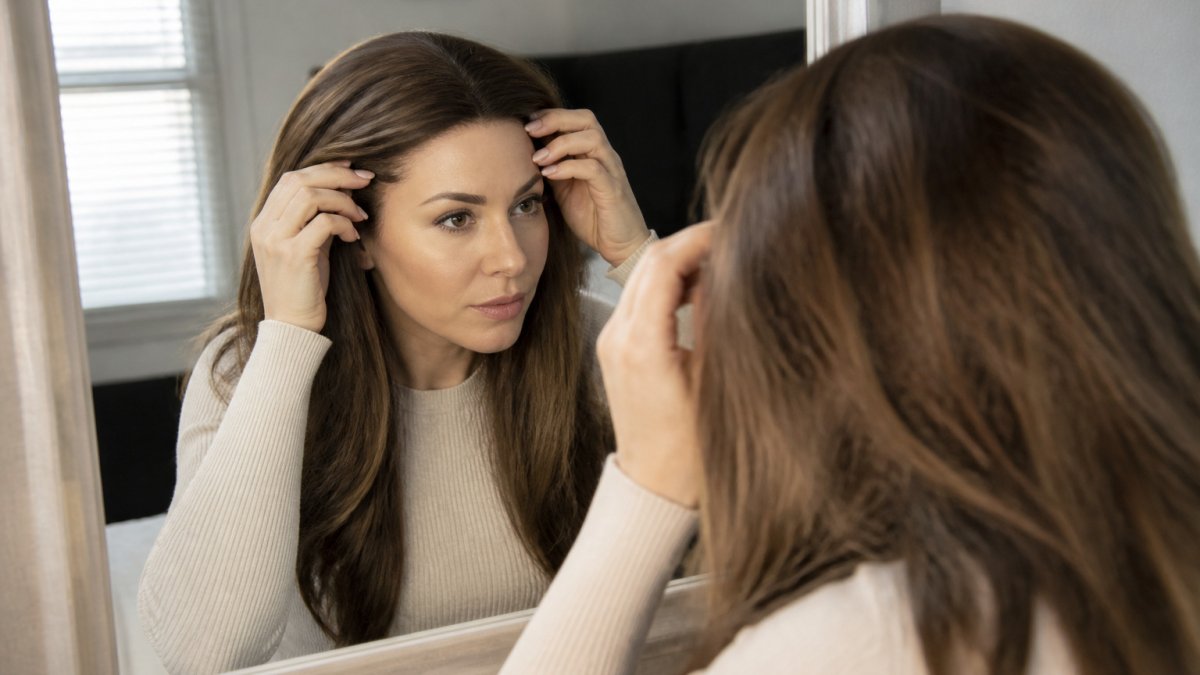
Stand before a bright mirror and gently check the hairline and temple edges with your fingertips. The cap should sit comfortably without pressing hard anywhere.
Use this quick fit test:
- Shake your head gently from side to side
- Look down, then look up
- Check that the wig stays put without pins pushing into your scalp
- Confirm that the front and nape sit flat and smooth
If the wig shifts, pinches or sits unevenly, the fit may be wrong.
Step 3: Check Hair Quality, Shedding and Matting
The hair itself tells you a lot about quality. Good human hair should feel smooth and soft, with a natural shine. It should not feel dry, brittle or sticky.
Gently run a wide-tooth comb through the hair from the ends upwards. Check what comes out of the comb.
Next, look for tangles. Hair that matts quickly or forms knots within a short time may be poorly prepared or weakly processed.
Chemical Residue and Odour Testing
Some faulty wigs carry leftover chemical residue from processing. Good wigs should smell neutral once unpacked. A strong chemical, sour or plastic-like odour is a warning sign.
To test this, place the wig in a clean bag for a few minutes, then open it and smell the hair. Also run your fingers through the hair. If it feels sticky, greasy or coated, ask for a closer look before you wear it.
Step 4: Run a Post-Wash Performance Test
A wig that looks fine dry can behave very differently after washing. Testing performance after a gentle wash shows you how the hair and cap hold up, and it is the single most revealing check you can do, because water exposes weak knots, poor processing and unstable colour.
Wash the wig carefully, following the care instructions that came with it. Use lukewarm water and a sulphate-free shampoo, and support the cap in your hand rather than letting it hang. Then observe the wig at three points: during the wash, during drying, and once dry.
During the wash
- Shedding in the water. A few strands in the basin are normal. A visible clump, or strands that come away in your fingers as you work the shampoo through, points to insecure knots or weak attachment.
- Colour release. Some tint running in the first wash is common, especially in darker shades. Water that turns heavily coloured, or that keeps releasing colour through a second rinse, suggests poor dye fixation.
- Texture change under water. The hair should feel smooth and slippery when wet. A sticky, coated or squeaky feel under water often signals chemical residue left from processing.
During drying
Dry the wig flat on a towel or on a wig stand, away from direct heat. As it dries, watch for:
- Frizz appearing before the hair is fully dry. A well-prepared human hair wig dries relatively smoothly; early frizz is a sign of cuticle damage or poor processing.
- Uneven drying. Patches that stay damp far longer than the rest can indicate dense, poorly ventilated areas of the cap.
- Cap distortion. The lace front or nape should return to its original shape. Lifting, curling or rippling at the edges after washing is a construction fault, not a styling issue.
Once dry
- Comb-through test. Run a wide-tooth comb from the ends upwards. The comb should pass through with light resistance. Snagging at the mid-lengths or ends suggests tangling that will worsen with wear.
- Shape retention. A well-made wig should hold its basic shape and density after washing. Noticeable volume loss, flattening at the crown or a changed parting line are warning signs.
- Odour check. Smell the hair once dry. A neutral or faintly clean scent is normal; a returning chemical or sour smell suggests residue that washing has not removed.
If your wig has tangled, lost its shape or shed heavily after washing, a professional restore and repair service can help. Restore and repair includes a deep conditioning treatment, expert styling and re-sewing loose tracks. Restore and repair includes a deep conditioning treatment, expert styling and re-sewing loose tracks.

A wig that passes the post-wash test is likely to hold up through repeated wear. One that fails at any stage is worth raising with the maker before you wear it further, the earlier the fault is documented, the easier it is to resolve.
Common Mistakes That Hide Faults and Shorten Wig Life
Many people miss faults because they rush the check or skip steps. Watch out for these common mistakes:
- Judging the wig only under warm, flattering light
- Trying it on for a few minutes and assuming it is fine
- Brushing hard from the roots, which pulls out loose hair
- Washing with hot water or harsh products
- Storing the wig in a way that crushes or tangles the hair
Careful handling protects both the cap and the hair. For ongoing care advice, see our Human Hair Wig Care Guide 2026: Wash, Style & Store. If you wash hand-tied pieces, How to Wash Hand-Tied Human Hair Wigs explains the correct method.
What to Do If Your Bespoke Wig Is Faulty
If your check reveals a fault, act quickly. Take clear photos of the problem area, including the cap, seams and hair. Then contact the business that made the wig with a clear description of the issue.
Many buyers want to know whether a custom wig can be returned. Can I Return Custom Made Wigs? UK Rules Explained covers what to expect.
Be clear about what you want. Ask whether the fault can be repaired, adjusted or replaced, and what each option involves.
Booking a Consultation or Repair with Wigs Ldn
If you are unsure about a wig or want expert help, Wigs Ldn can assess it with you. Book a Wig Consultation to have your wig assessed by a specialist. A Wig Consultation lasts approximately 30 minutes and costs £50, of which £25 is redeemable towards your wig purchase on the same day.

Please note that at least 48 hours' notice is needed to cancel or reschedule an appointment. Cancellations made after this period are non-refundable.
Checking a custom wig carefully saves time, money and frustration. Start with the cap, test the fit, check the hair and run a post-wash test. If something does not feel right, speak to a specialist early. Get in touch with Wigs Ldn to get your wig checked and find the right next step.
Frequently Asked Questions
How do you know if a custom wig fits properly?
A well-made custom wig should sit snugly without pinching, with the front edge lying flat along your natural hairline and the cap resting evenly around the crown. Check that it does not lift when you move your head, and that the sides and nape stay in place. If the wig slides, sits too high or leaves marks after a few hours, the cap circumference or the adjustment straps may need correcting. A consultation with a fitter can help confirm measurements before the wig is finished.
What are the signs of poor wig construction?
Look for lace that is thick, shiny or visibly bulky at the hairline, knots that lift or pull out easily, and wefts that are loosely stitched. Uneven parting, hair that sits in clumps rather than flowing naturally, and a cap that feels rigid or scratchy are also warning signs. Gently tug a small section of hair. If strands come away in quantity, the hair has not been secured properly.
What should I do if my bespoke wig is faulty?
Contact the company that made it as soon as you notice the fault, and keep the wig and any order details to hand. Describe the problem clearly and include photographs of the hairline, cap and any shedding. Ask whether the fault falls under the returns policy or a repair, and what any adjustment would cost. Wigs Ldn offers a restore and repair service at £150.00, which can re-sew loose tracks, replace elastic and clips, and deep condition the hair.
Is shedding from a new human hair wig normal?
Some light shedding can be expected in the first few wears. Persistent shedding, where handfuls of hair come away when brushed or washed, suggests poor knotting or weak wefts. Check the hair after gentle brushing on a dry wig and again after a gentle wash. If shedding continues, ask for the wig to be inspected before further wear.
