

Last Updated: November 7, 2026
Quick Summary
Yes, beginners can melt HD lace, though a first attempt often takes longer than expected. Use a melt band, a hairdryer on low heat held 15 to 20 centimetres away, and short passes of 10 to 15 seconds before pressing the lace flat against the skin.
- Keep the hairdryer on a low heat setting and hold it 15 to 20 centimetres from the lace.
- Work in short passes of 10 to 15 seconds, then press the lace gently with clean fingertips.
- Start the melt band at centre front and work outwards, keeping it flat rather than bunched.
- Clean and dry the hairline first, since oil or product build-up stops the lace sitting flat.
- Patch test any adhesive or tint on a small area, especially if your skin is sensitive.
Table of Contents
- Tools and Products You Need Before You Start
- Preparing Your Hairline and Skin Safely
- Step-by-Step: Melting Your HD Lace Without Glue
- How Long to Tie Down Lace After Installation
- Fixing HD Lace That Will Not Blend
- Booking Your Wig Fitting and Starting Your First Melt
- Frequently Asked Questions
Melting HD lace is the process of using heat to blend the very thin lace base of a wig into the wearer's skin, so the edge looks like natural scalp, and it is the most common question beginners ask about a seamless finish with melting HD lace. Wigs Ldn, a UK maker of made-to-order human hair wigs, sees this question come up often from beginners who want a seamless finish without the fuss.
Melting HD lace is possible for beginners, though a first attempt can take longer than expected. Most of the difficulty comes from heat control and patience rather than skill.
HD lace is a very fine lace. Because it is so thin, it can be melted down to match the skin tone.
Why does this matter? A wig edge that shows a visible line gives the game away. Melting the lace removes that line, so the hairline looks like it grows from the scalp.
- The main goal is an invisible hairline
- Heat softens the lace so it sits flat against the skin
- A good melt reduces the need for heavy adhesive
Tools and Products You Need Before You Start
Gather everything before you begin, because stopping mid-melt can leave uneven patches. Have these items ready:
- A wig melt band, which holds the lace and helps it melt evenly. You can find ours at £2.99 on the wig melt band product page.
- A hairdryer with a low heat setting
- Fine-tip tweezers and a small pair of scissors for trimming excess lace
- A wig cap or bald cap if you want an extra layer underneath
- A lace tint, if the lace colour needs matching
A quick checklist:

- Melt band
- Hairdryer
- Tweezers and scissors
- Wig cap or bald cap
- Lace tint (optional)
If you are choosing a wig to melt, our Body wave Virgin Hair Glueless Wig 6x6 HD Lace Closure Wig is priced at £460.00 and comes with a 6x6 HD lace closure. It comes pre-styled to perfection.

Preparing Your Hairline and Skin Safely
A clean, dry hairline makes the melt far easier. Skin preparation also protects you from irritation.
Start by washing and drying the hairline thoroughly. Oil, product build-up or sweat can stop the lace from sitting flat.
Watch out: skin can burn if the heat stays on one spot for too long. Keep the dryer moving and check your skin as you go.
Patch test any adhesive or tint on a small area first. This is especially important if your skin is sensitive.
Common mistakes to avoid:
- Applying lace to damp skin
- Holding the dryer too close to the hairline
- Skipping the patch test
Step-by-Step: Melting Your HD Lace Without Glue
HD lace is thinner and more delicate than standard lace, so the melt has to be gentle. Work in small sections and treat the lace as though it will tear if you rush it, because it will.
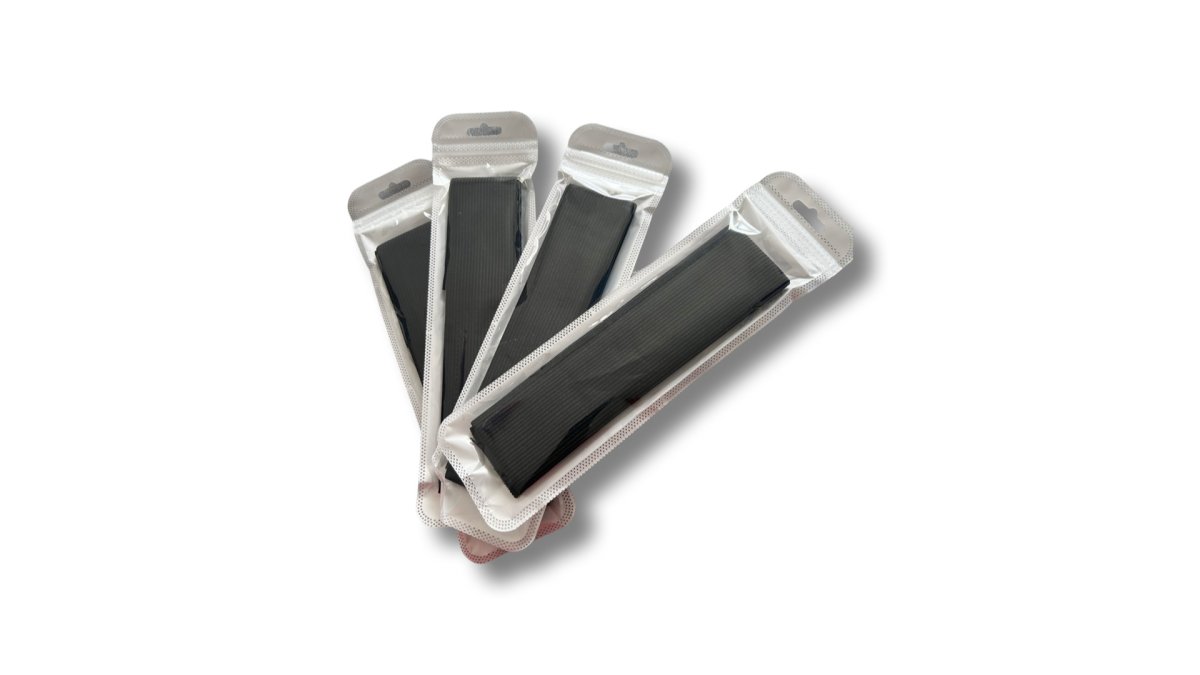
- Place the wig on a foam head or stable base. If you are melting on your own head, pin the hair back and work in front of a mirror so you can see the hairline edge.
- Lay the melt band across the lace edge, starting at the centre front and working outwards. The band should sit flat against the lace, not bunched.
- Set your hairdryer to low heat and the lowest airflow that still moves warm air. Hold it about 15 to 20 centimetres from the lace.
- Move the dryer in steady sweeping motions for 10 to 15 seconds at a time, then pause and press the lace gently against the skin with clean fingertips.
- Check the edge before moving on. The lace is ready when it lies flat with no visible ridge and the colour has blended into the skin. If you can still see a line, it needs another short pass, not a longer one.
Keep each pass short, and add heat in small increments rather than one long session.
Watch out: HD lace can scorch or go shiny if the dryer is held too close or on one spot for too long. Keep the dryer moving and test the temperature on the back of your hand before aiming it at the hairline.
If you are using a lace tint, apply it in thin layers and let each one dry before adding the next. A single thick layer can pool and look patchy.
Once the whole hairline is melted, move on to securing the band and letting the lace set. The how to keep glueless wigs secure guide covers the next stage in more detail once the melt is complete.
The melt is done in short, controlled passes, and each stage has a clear check before you move on.
| Step | What to do | Time or frequency |
|---|---|---|
| Position the wig | Place on a foam head or stable base | Before you start |
| Lay the melt band | Start at centre front and work outwards | Flat, not bunched |
| Set the dryer | Low heat, lowest airflow that still moves warm air | 15 to 20 cm from lace |
| Sweep and press | Move the dryer, then press lace gently with fingertips | 10 to 15 seconds per pass |
| Check the edge | Confirm no ridge and colour has blended | Repeat short passes as needed |
How Long to Tie Down Lace After Installation
The lace needs time to settle before it can hold its shape. Leave the wig undisturbed for a period after the melt.
Tying down the lace means securing the wig so the edge stays flat during wear. Use the melt band or a soft wig strap, and check the fit each morning.
For a more detailed walkthrough, read our how to keep glueless wigs secure guide.
Fixing HD Lace That Will Not Blend
When the edge still shows after a melt, the cause is usually one of a few specific problems. Work through them in order rather than adding more heat or product, which tends to make things worse.
- White residue along the hairline: This is usually dried adhesive or tint that was applied too thickly. Dampen a cotton bud with a little warm water and lift it away gently. Do not scrub, because HD lace frays easily. Next time, apply adhesive in a thinner layer and let it turn clear before pressing the lace down.
- Edge lifts or curls: Reheat the lifted section in short bursts and press it flat while it is still warm. If it lifts again within a day, the skin may have been oily or damp at application. Clean and dry the hairline thoroughly before re-melting.
- Visible excess lace: Trim with small, sharp scissors, leaving a thin margin of about 2 to 3 millimetres so the edge does not fray. Cut a little at a time and check against the skin before cutting more.
- Lace looks shiny or patchy: Lightly tint the lace to match your skin tone. Build the tint in thin layers and let each dry. A patchy result usually means the tint was applied unevenly or over a damp surface.
- Uneven hairline: This often comes from melting in one long pass rather than small sections. Reheat the uneven area gently and press it into line with the rest of the edge.
- Lace will not lie flat at all: Check that the wig cap or bald cap underneath is smooth and not bunched. A ridge under the lace will always show through HD lace, however well you melt it.
HD lace is less forgiving than thicker lace, so a fix that works on standard lace may need a lighter touch here. If the problem persists after these steps, a custom adjustment may help. Our guide on whether custom wig thinning is worth it explains when a professional change makes sense.
Booking Your Wig Fitting and Starting Your First Melt
Once you feel ready, choose a wig that suits your face shape and hair goals. Our Ash Blonde Virgin Hair 5x5 HD Lace Closure Wig is priced at £350.00 and is custom-coloured from 613 hair with dark roots.

Before you buy, it is worth reading about whether HD lace is worth the extra cost. That guide explains where the premium really pays off.
Every wig we make is made to order in the UK, with a 30-day money-back guarantee and free worldwide delivery. Same day and next day delivery options are also available.
Start with a simple melt, take your time, and you will be surprised how quickly it becomes second nature.
Frequently Asked Questions
What does it mean to melting HD lace?
Melting HD lace means using heat, usually from a hairdryer or a melt band, to soften the lace so it lies flat and blends into the skin along the hairline. HD lace is very thin, so once it melts it becomes almost invisible. The process relies on a tacky adhesive or a heat-activated base, and the aim is a seamless, natural-looking hairline rather than a visible edge.
Do you need lace-melting spray to melting HD lace?
Lace-melting spray is not strictly required, but many beginners find it helpful because it makes the lace stick and soften more predictably. Use a light, even coat and allow it to become tacky before pressing the lace down. Always patch test any product on a small area of skin first, particularly if you have sensitive skin or a medical condition affecting your scalp.
Can you melting HD lace without glue?
Yes. A glueless wig is secured with a wig band or a melt band rather than adhesive, so there is no glue to melt. Wigs Ldn's Body wave Virgin Hair Glueless Wig 6x6 HD Lace Closure Wig is priced at £460.00, and the Wig melt band is priced at £2.99.
How do you fix HD lace that will not blend with your skin?
If the lace looks visible, first check that it is fully melted and pressed flat, then trim any excess lace close to the hairline. Gently powder or tint the lace to match your skin tone, and avoid over-applying adhesive, which can create a shiny edge. If problems continue, remove the wig carefully, clean the lace and reapply, following the drying times in the steps above.
